
Stencils tend to be used a lot in mixed media but can be quite expensive. Always one to try and use everyday household items, I've been stencilling with satsuma and onion netting, my children's plastic stencils, paper doilies (ok, not exactly an everyday item, but cheap nonetheless!) and while not a stencil, bubblewrap gives a stencil-like effect.
Anyway, this is a great way to use up scrap clay and create your own unique stencils.
You need:
- Polymer clay (I use Fimo but any brand will work of course)
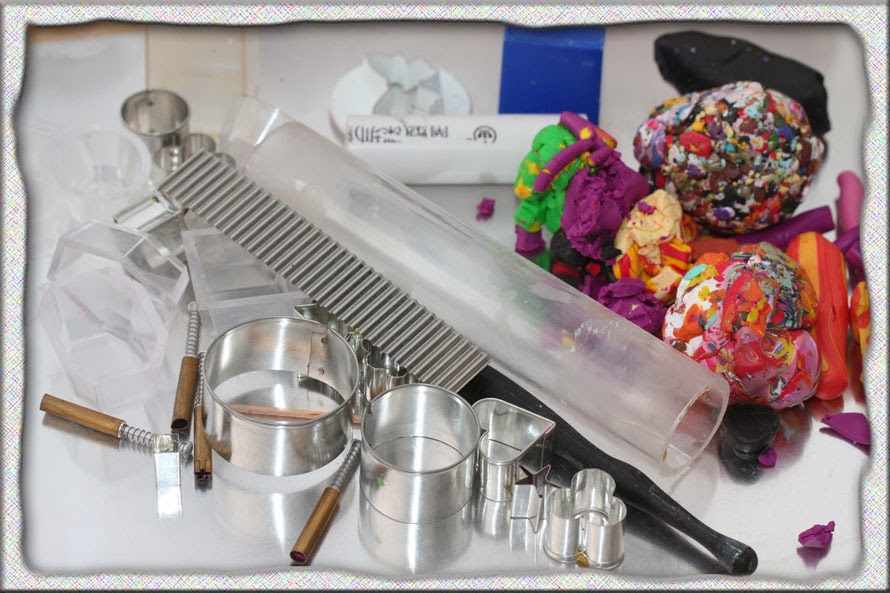
- Cutters (I mostly used polymer clay cutters, but you can use anything at all: cocktail stick, pen lid, small jar lid, cocktail stick container, old film container... anything really!)
- Rolling pin (you could use a jar if you don't have a rolling pin)
- Tissue blade (not essential but useful to remove stencil from work surface to baking tray)
- Heavy books
- Condition your clay. Mine was quite old so I had to spend a while rolling it around and warming it up a bit.
- Roll it out to your desired size. My largest stencil (the bubble one) is about 14cm x 10cm / 5.5" x 4" and about 1mm thick.
For the bubble stencil I used several circular cutters, a cocktail stick and another pointed tool.
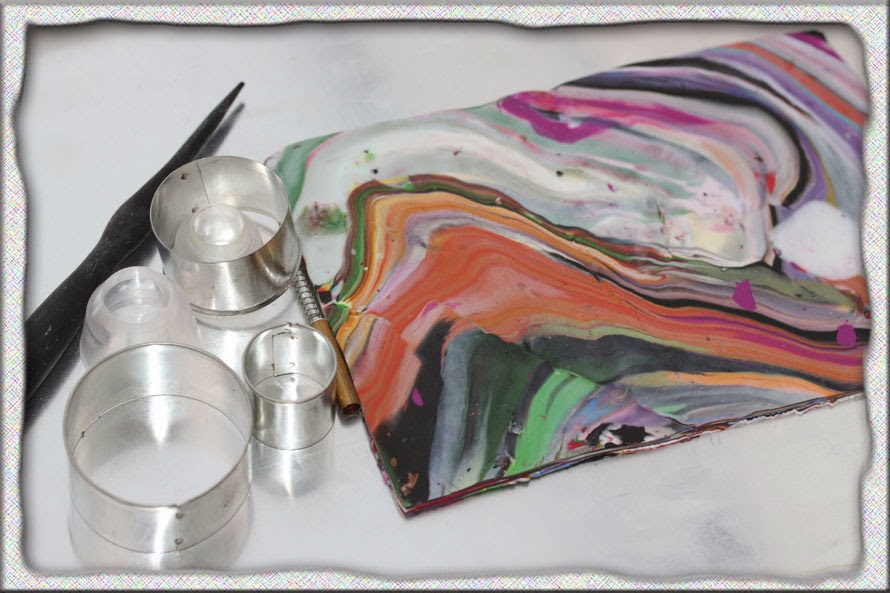
- Then carefully cut out your shapes. I would perhaps recommend leaving a wider edge between the holes and the outside edge as otherwise you may get lines when you spray. You can always place a piece of paper underneath the edge to prevent this though.

Anticlockwise from top left: Stars, hearts, flowers made with circle and raindrop cutters and a swirly shape I cut out with a blade)

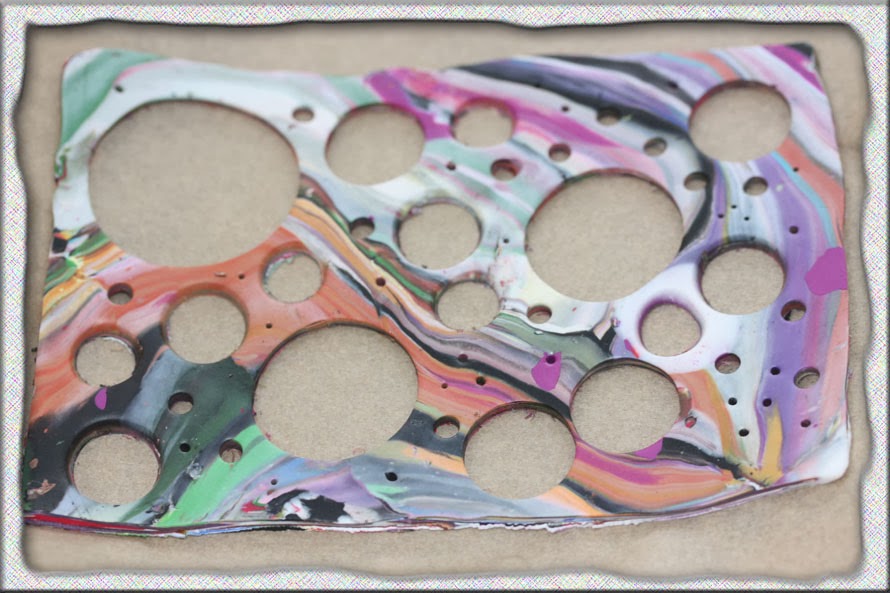
Left to right: Zig zag lines made with a zig zag tissue blade, butterflies, squares and bubbles.
- Even more carefully (!) pick up your stencil and place on baking tray. You may need to slide a tissue blade underneath. Alternatively, you might prefer to cut out the shapes on your baking tray so you won't have to move the stencil.
- Bake for recommended time. Fimo takes half an hour.
- IMPORTANT! Once baked, place some heavy books on top of your stencils. Polymer clay is quite flexible when it comes out of the oven and if you leave something thin like stencils, they will bend, which is no good for stencilling! I left mine under the books for about half an hour.

- Now the fun part! I used Dylusions ink sprays on 150gsm watercolour paper (this is something I painted ages ago with watercolours, just to use one day as a background):


and here's all the patterns made by my stencils:

I messed up the bottom right corner as the spray on my ink didn't work properly! The good thing about mixed media work is that you can just cover it up:) I'm really pleased with how they turned out and can't wait to use them in my art journal.
You'll find that there's a bit of ink left on the stencil, so wipe this off with a paper towel or blot with paper and use this in your next project!
Hope this has been useful. I'd love to see what stencils you create. Have fun! And don't forget to come and join in The Documented Life Project...


Very cool idea. Thanks for sharing!
ReplyDeleteNo problem! Thanks for stopping by and commenting:)
ReplyDeleteThis comment has been removed by the author.
ReplyDeleteThis comment has been removed by a blog administrator.
ReplyDeleteThis comment has been removed by a blog administrator.
ReplyDeleteThis comment has been removed by a blog administrator.
ReplyDeleteThis comment has been removed by a blog administrator.
ReplyDeleteThis comment has been removed by a blog administrator.
ReplyDeleteThis comment has been removed by a blog administrator.
ReplyDeleteThis comment has been removed by a blog administrator.
ReplyDeleteThis comment has been removed by a blog administrator.
ReplyDeleteWhen you buy used commercial kitchen equipment appliances, keep in mind that, like a new car, those pieces of equipment depreciate in value the moment that you put them on the car lots.
ReplyDeleteWhether you are looking for a custom design or have an existing space that needs remodeling, there is a countertop design to suit you. These are just some of the choices available to you. To get more detailed info on Pro Stone Countertops, visit on hyperlinked site.
ReplyDeleteThis comment has been removed by the author.
ReplyDeleteHowever, there are several models of over the range microwave without cabinet that offer much more control, such as variable speed fans, separate fan controls for all four microwave ovens, a feature which lets you cook multiple foods simultaneously.
ReplyDeleteSo it's important to choose the best one for your needs. Also, keep in mind that floral coolers have different cooling needs than beverage coolers. Purchasing a floral cooler that's designed specifically for flowers is safer. You are curious to know more about flower fridge, go here.
ReplyDelete